Short answer
Charging a Tesla at home comes down to three decisions: the outlet or wall unit you charge from, the cable and connector that reach the car, and how that cable is stored between sessions.
Most owners cover everyday charging with the mobile connector on a dedicated 240 V circuit, then add a J1772 adapter so the car can also use the non-Tesla stations found at workplaces and public car parks.
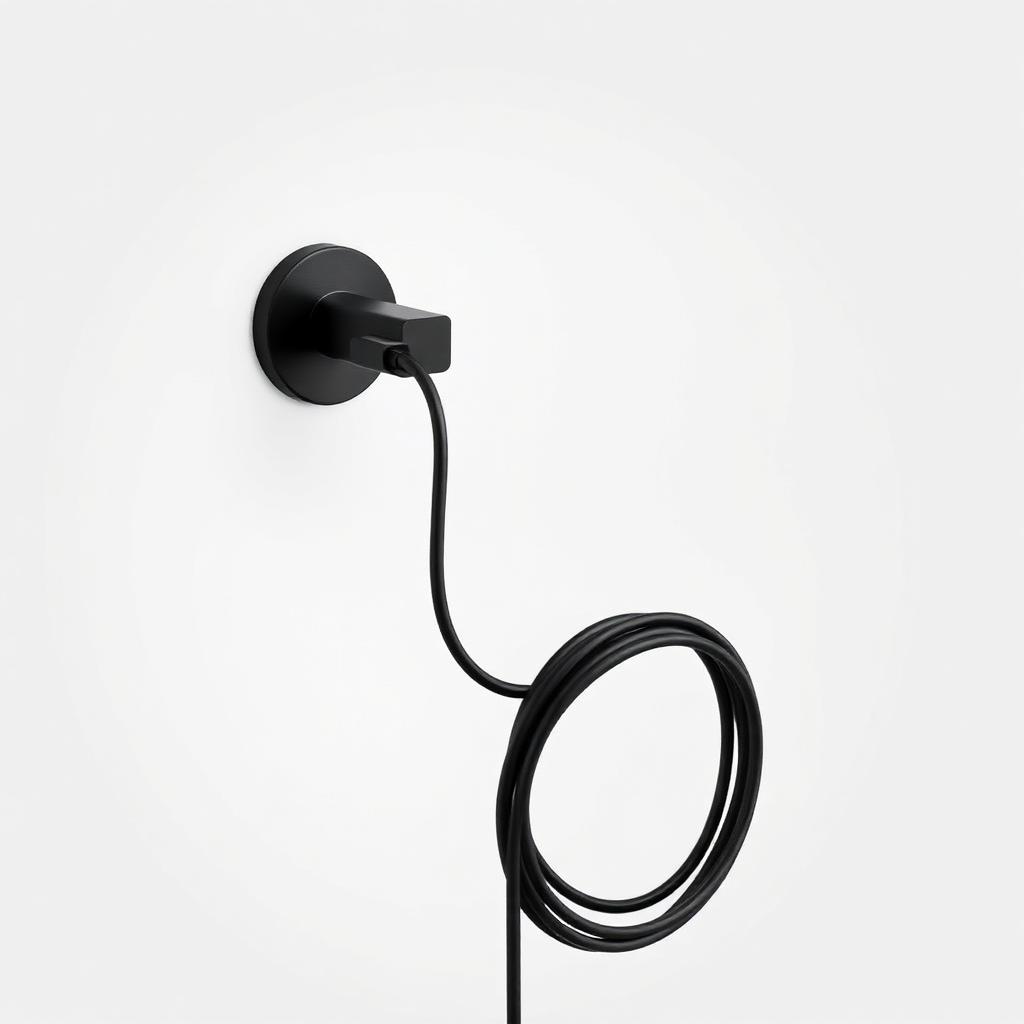
A wall holster or J-hook is the small purchase that makes the setup last, because it keeps the connector off the garage floor and stops the cable being dragged and trodden on.
Fitment snapshot
- Vehicles covered
- Tesla Model 3, Model Y, Model S, Model X and Cybertruck with a NACS charge port.
- Adapter direction
- A J1772-to-Tesla adapter lets a Tesla use a J1772 station; a NACS-to-J1772 adapter lets a non-Tesla EV use a Tesla-connector cable.
- Electrical work
- Circuit, breaker and outlet decisions are electrical work and belong with a licensed electrician, not with an accessory purchase.
- Source of fitment claims
- Compatibility records stored with each product in the EV Gear Lab catalogue.
What to check before buying
- Confirm which connector your car uses and which connector the station you want to use provides.
- Check the amperage rating stated on the listing against the circuit you actually have.
- Check that an adapter's stored record covers your model and model year rather than assuming all Teslas are equivalent.
- For holsters and hooks, check the mounting surface and the connector shape they are moulded for.
- Have a licensed electrician confirm the circuit before committing to a higher-amperage setup.
Last reviewed by EV Gear Lab on September 18, 2026. Fitment statements come from the compatibility records stored for each product; assessments are EV Gear Lab editorial judgement and are kept separate from manufacturer and marketplace listing claims.
Home charging is a routine that repeats most days, which is why small annoyances there matter more than they should. A cable that is two metres short, or a connector that lives on the garage floor, converts a quick habit into a chore.
This guide is about the setup around the charge port: how to size a cable to your parking space, how to store it properly, and which regional and mounting details decide what will work. Electrical installation itself belongs with a qualified electrician and is deliberately out of scope here.
Measure the parking space before choosing anything
Cable length is the decision every other choice depends on, and it is an easy one to guess at. Measure from the outlet or wall unit to where the charge port actually sits when the car is parked the way you park it — including the times you reverse in — and add slack so the cable hangs in a curve instead of pulling.
Longer is not automatically better. Excess cable has to live somewhere, and a heavy coil on a small hook can sag, drag on the floor and load the connector housing. The shortest length that reaches comfortably from both parking directions is often the right one.
- Measure from the outlet to the port position, not to the corner of the car.
- Repeat the measurement for the reversed parking direction.
- Add slack for a hanging curve, not for a taut line.
- Note the mounting surface at the same time — stud, masonry, plasterboard or metal panel.
The three pieces of a home setup
A workable arrangement has a power source, a cable or wall unit, and a defined place for the cable to rest. Attention tends to go to the first two and rarely to the third, which is the part handled daily.
- A portable mobile connector with the correct adapter, for household outlets and travel.
- A fixed wall unit, installed by a qualified electrician, where faster overnight charging is needed.
- A holder or dock so the connector has a home above floor level.
- A cable organiser so the slack is coiled rather than trailing across the floor.
Related accessories
Regional compatibility, which interior accessories rarely require
Charging hardware is market-specific in a way many accessories are not. Connector standards differ between regions, outlet types differ between countries, and two plugs looking alike does not make adapters interchangeable.
- Confirm the charge-port connector standard your car uses in your market.
- Confirm the household outlet type and whether an adapter is genuinely rated for it.
- Check that a holder's inner diameter suits your connector body, which varies by cable generation.
- For outdoor parking, confirm weather ratings for the holder and any adapter.
- In rented or shared parking, confirm what may be permanently fixed to a wall.
What separates a good holder from a hook
- Coil capacity — whether the full cable is supported or only the connector head.
- A broad cradle that spreads load, instead of a narrow hook that creases the jacket.
- Strain relief where the cable enters the connector housing.
- Fixings supplied for your wall type, rather than generic screws.
- A weather rating for unheated garages and outdoor walls.
- Enough height that the cable clears the floor when fully coiled.
Cold weather changes the routine
Cables stiffen as temperatures fall, which makes tight coiling harder and sharp bends more damaging. A cradle with a generous radius is worth more in winter than in summer, and a cable jacket rated for low temperatures is worth the check if the car parks outdoors.
Charging speed itself is managed by the car rather than by any accessory, so treat slower cold-weather charging as expected behaviour rather than an equipment fault.
Related guides
Mistakes that show up after a few months
- Buying a cable before measuring the distance to the parked charge port.
- Leaving the connector on the ground, where it collects grit and water.
- Coiling tightly around a small hook, which fatigues the jacket.
- Mounting an adhesive holder on a cold, dusty or painted garage wall.
- Routing the cable across a walkway instead of along a wall.
- Assuming an adapter bought in another market suits your outlet.
- Treating a portable connector as a permanent high-current installation.
Setups by parking situation
Where the car sleeps determines most of the answer.
- Attached garage — a wall holder beside the outlet and a short, well-managed cable.
- Driveway — weather-rated mounting and a cable that stays flexible when cold.
- Shared or rented parking — a portable connector and a bag you can take with you.
- Two-car household — plan routing so one connector reaches both positions safely.
- Frequent travel — keep the mobile connector and adapters contained rather than loose in the boot.
Related accessories
Charging hardware you keep at the parking space
Most owners eventually separate two things: the cable that lives in the car for travel, and the hardware that stays where the car normally parks. Leaving a dedicated unit at home means the travel kit stays in the boot rather than being carried in and out every evening.
A portable Level 2 charger is the middle path between the mobile connector and a wall-mounted unit. It plugs into a suitable existing outlet, and the useful specification points are cable length, the current it is rated for and whether it carries a recognised safety certification. Confirm the outlet you intend to use matches the plug supplied before ordering, because that is the detail that turns an easy install into an electrician's visit.
Whatever unit you use, the cable still needs somewhere to live between charges. A holster and hook keeps it off the floor and stops the connector picking up grit, which is the failure mode that shortens a cable's life more reliably than mileage does.
Conclusion
A good home setup is unremarkable by design: the cable reaches from either parking direction, it hangs where it belongs, and plugging in takes seconds.
Measure first, match connector and outlet standards for your region, give the cable a properly rated holder, and leave the electrical work to a qualified electrician.
Frequently asked questions
Do I need a wall connector to charge a Tesla at home?
No. Many owners charge overnight with the mobile connector on a suitable 240 V circuit. A wall unit mainly adds speed and convenience, and its installation is electrical work.
Why would a Tesla owner need a J1772 adapter?
Because a large share of public and workplace charging stations use the J1772 connector. The adapter lets the car plug into those stations; it does not change the car's charging speed limits.
How EV Gear Lab works: we research Tesla and EV accessories, record the fitment each product states, and publish our own assessment of how useful it is. Fitment and specification statements come from the product's stored record and the manufacturer listing; the buying judgement is EV Gear Lab editorial opinion. We do not sell these products — purchase links go to Amazon.
More guides
- Best Tesla Accessories for Model 3 & Model Y
- Tesla Model Y Juniper Accessories Worth Buying First
- Tesla Model Y Accessories: The Complete Buyer's Guide
- Best Floor Mats for Tesla Model Y: How to Choose
- Tesla Model 3 Accessories Worth Buying First
- Tesla Dashcam and Sentry Mode Storage Explained
- Tesla Winter Driving: Protection and Cabin Gear
- Tesla Interior Organization: Console, Frunk and Trunk
- How to Check Tesla Accessory Fitment by Model and Year
- Tesla Road Trip Accessories: What to Pack and What to Skip
- Tesla Pet Travel Accessories: A Practical Guide for Dogs and Cats
- Tesla Model Y Adapter Guide: J1772, NACS & Charging Adapters
- 2026 Tesla Model 3 16-Inch Screen: Fitment Guide
- Tesla Model Y Cabin Air Filter: HEPA Replacement Guide
- Tesla Jack Pads and Lifting Pucks: Fitment and Safe Use
- Tesla Model Y Sunshade Guide: Windscreen and Glass Roof
- Tesla Model Y Mattress Guide: Camping and Sleeping Setup
- Tesla Model Y Fridge and Cooler Guide: Frunk, Console and Trunk
- Tesla USB Hub and Cabin Charging Guide: Model Y and Model 3
- Tesla Model S and Model X Accessories: Protection and Shading
- Tesla Cybertruck Bed Mat Guide: Protecting the Vault
- Tesla Model 3 Highland Floor Mats and Interior Protection